On the third day of our scrapbook retreat my scrapbook consultant taught to me.... ok, so I guess that isn't exactly how the song goes but hey - I'm running short on sleep so I get crazy. :)
The next workshop we completed was this cute little mini album using the Blossom papers and Compliments and our new My Creations Mini Mix Album.
I love this little album as it is the perfect size to put together a quick antd unique gift for any occasion. I gave each attendee pieces to create either My Family or My Friends themed album. When you first open the book, before we added our papers to it, you see just how unique this mini-book is as it has craft and vellum pages along with your standard white daisy pages. We had a lot of fun creating this fun book. Hope you like it!
Background
Friday, May 22, 2015
Wednesday, May 20, 2015
Blossom Joy
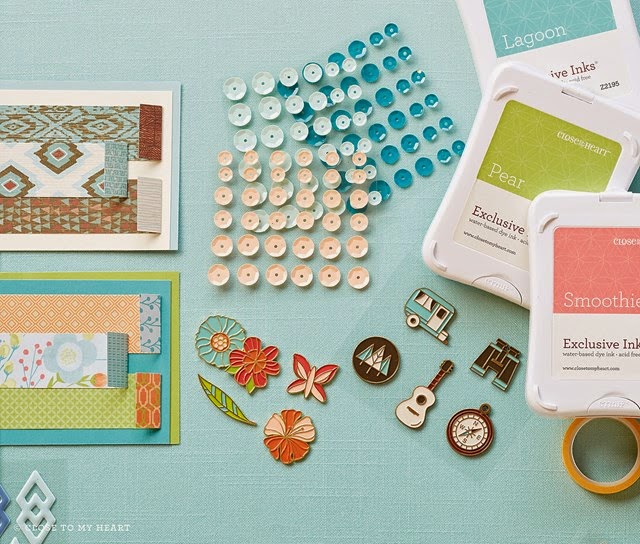
On the 2nd day of our retreat we created this cute layout using the new Blossom papers, Complements, Coral Reef Sequins, Oceanside Sequins and Carnival Washi Tape. All are brand new products in the Seasonal Expressions 2 book just released.
One technique we used was on the zip strip on the bottom of the left page. We cut it in half and put White Shimmer Trim below it. This gives the layout a subtle shimmer that doesn't overwhelm the layout.
Check back soon to see what we created on day 3 of our retreat. Here is a hint - it blossoms too! :)
Saturday, May 2, 2015
She Art It!
In honor of my challenge for this weekend to use your scraps and old supplies, I wanted to show you what my retreat girls created. This weekend we have packed up and are at the beautiful Grand Oak Retreat in Scottsboro AL to scrap the weekend away. Each day I have a workshop for the girls to complete and our first night we made something called SHE ART. We use 6x6 canvas from CTMH and all my old scraps and embellishments. The object is to create a small layout that speaks about you (or if creating for a friend, would talk about them). Here is what we created:
Aren't these fun! The hardest part for some was drawing the person but I think they did great! As Mother's Day approaches why don't you create one for your mom to tell her what you think about her! Don't forget to load it to my facebook page to show it off and be entered into the drawing that closes tomorrow night.
Thursday, April 30, 2015
Making Old New
If you have been scrapbooking or cardmaking for any length of time you are bound to have a stash of left over papers, embellishments, beautiful stamp sets, etc., etc., etc., but what do you do with those scraps?
I would like to challenge you to create with your stash this weekend. Take just a few minutes to create anything you like, cards, layouts, wall decor, etc., with your leftovers and show me what you have made. You can post your pictures to our facebook page - Scrappin with Heather Hicks. If you haven't friended the page yet, you will need to that first. I will hold a random drawing for all who have showed off their artwork by Sunday 9pm and send the winner a special prize to the winner.
To help get you thinking, I wanted to show you two cards that I created recently with my scraps. As you know, the end of the school year is quickly approaching. Our homeschool tutorial just ended for the school year and we graduated our 6th graders onto high school. As per our tradition, we give our students a small gift card at graduation. I created the following cards to give them with their gift cards.
I would like to challenge you to create with your stash this weekend. Take just a few minutes to create anything you like, cards, layouts, wall decor, etc., with your leftovers and show me what you have made. You can post your pictures to our facebook page - Scrappin with Heather Hicks. If you haven't friended the page yet, you will need to that first. I will hold a random drawing for all who have showed off their artwork by Sunday 9pm and send the winner a special prize to the winner.
To help get you thinking, I wanted to show you two cards that I created recently with my scraps. As you know, the end of the school year is quickly approaching. Our homeschool tutorial just ended for the school year and we graduated our 6th graders onto high school. As per our tradition, we give our students a small gift card at graduation. I created the following cards to give them with their gift cards.
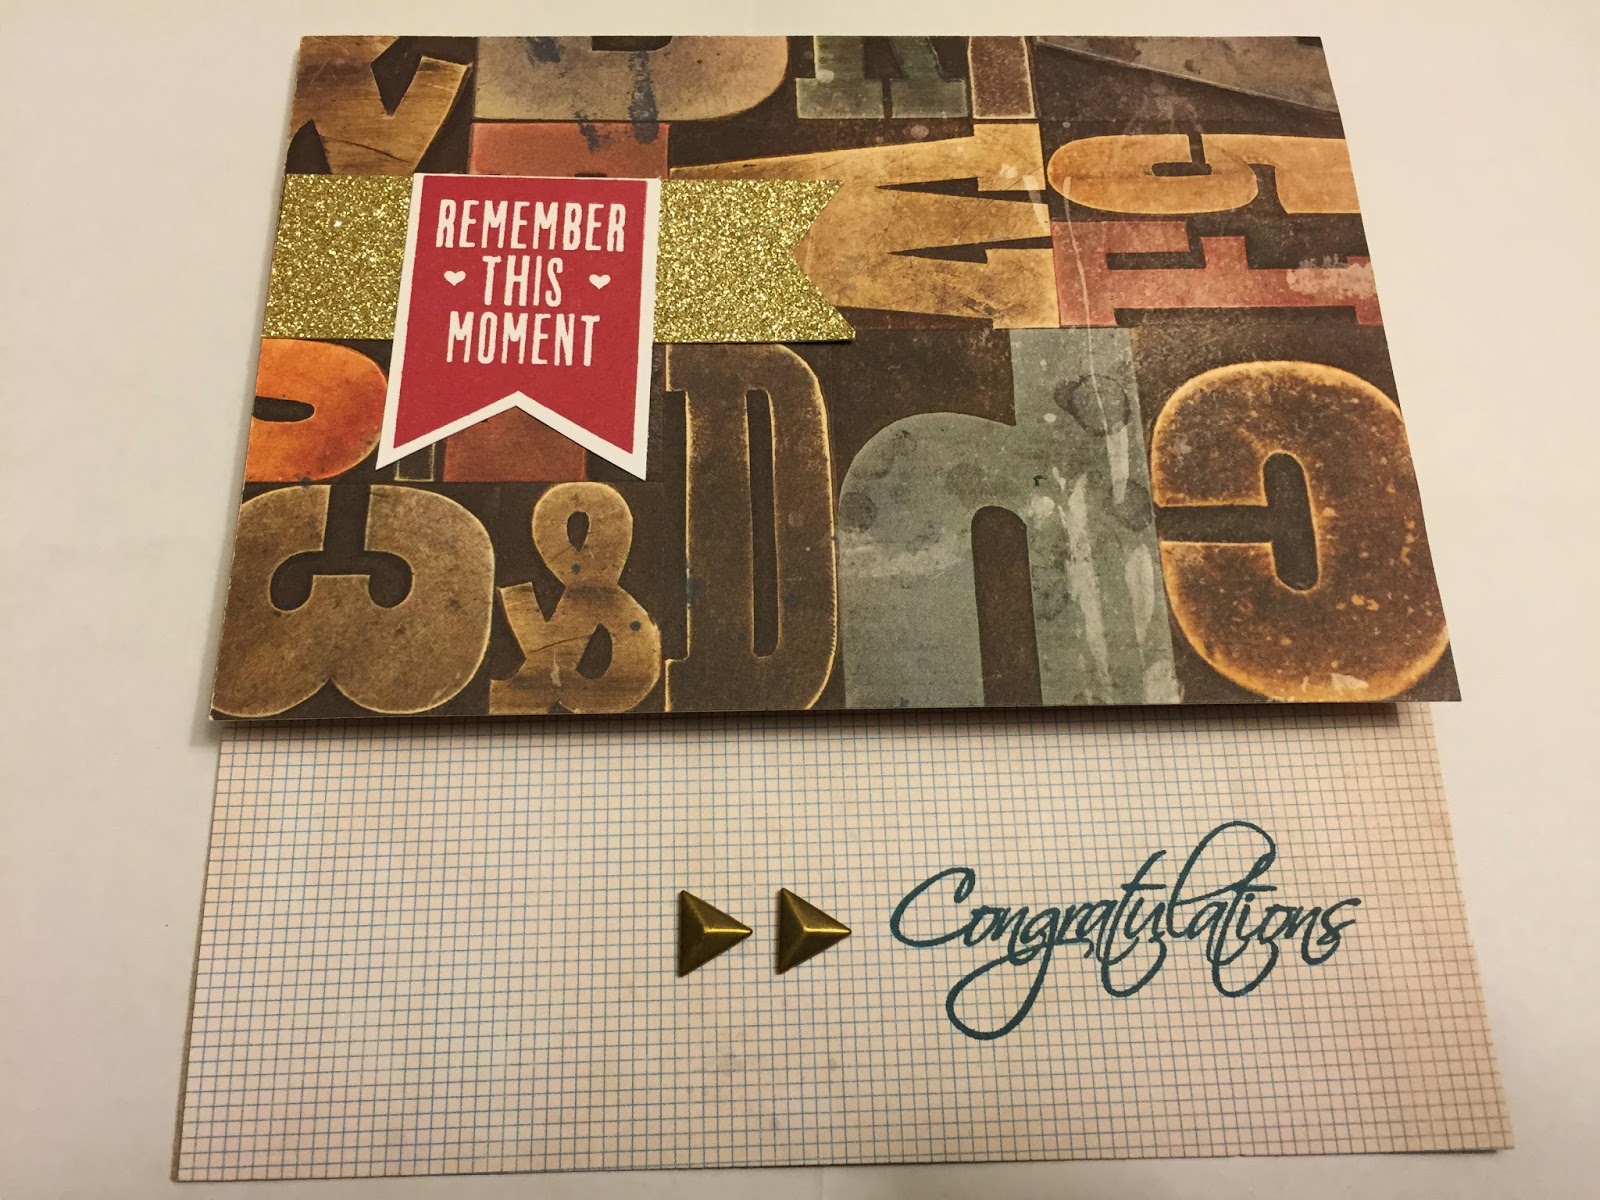
The Boys:
I created these with my Scholastic scraps and some Kraft paper. The I used several stamp sets including: Pinwheel, For Every Occasion and January's Stamp of the Month, This Moment. I added a little bit of bling with Gold Glitter Paper and Triangle Studs
For the Girls:
I actually made this card as a make-n-take for a crop I attended in January but I had a few of the supplies left over so, decided to use them for the girls graduation card. Here I used the Blushed papers, Lagoon Hearts Washi tape, This Moment stamp set, Silver Glitter Paper and used the Arrow Embossing Folder on the White Daisy paper.
I am at my scrapbook retreat this weekend in Scottsboro AL and am having the attendees do a few activities with scraps as well. So, check back often as I will post pictures of what they have created too.
In the mean time, get creating and post your artwork to the Facebook page. I can't wait to see what you come up with.
Wednesday, April 1, 2015
Deal of the Day Starts Today!
Each daily deal with be released at 5pm so what you need and be ready when the bell strikes and place your orders before the daily deal is gone. And with the release of our new Seasonal Expressions 2 catalog there are several new and fun items to have.
Friday, March 27, 2015
Only a few more days left!
In just a few days our Seasonal Expressions 1 catalog will expire and our brand new Seasonal Expressions 2 will be available and ready to order from. As we look forward to our new seasonal catalog being released that means we also say goodbye to some fun items from this current book. If you didn't get your Hopscotch or Heartstrings papers, puffies, and embellishments than make sure to order yours today before they are gone!
Friday, March 13, 2015
Fluttering with Artfully Sent
This time of year is so fun! One week there is snow here and the next week we are having beautiful 60 degree weather. With spring right around the corner I needed some cheerful colors in my scrapbook room so I decided to play with our Brushed papers and created this VERY simple card.

Once all I had on my screen was the icon/frame you press go to cut. I ended up stamping the frame in Cranberry and the Sentiment in Lagoon. And there you go. It takes a lot more typing for me to explain it but really the process is pretty simple - especially when you have the codes for each card - thank you again Narelle!
I hope you were able to learn something or be reminded of something here. Close to My Heart's Cricut Cartridges are the absolute best and offer soooo much more than the other regular cartridges. Don't be intimated by all they have to offer and come with - just enjoy all the possibilities!
To see all the Cricut cartridges CTMH has created check out my website.
Let Me Show you how to make this card too!
I created this card using the New Cricut Explore/Design Space and Close to My Hearts Artfully Sent Cartridge.
The first thing to know about using the new Cricut Explore machine and the Artfully Sent cartridge is that all the images are grouped together for each card or envelope. You can search by attributes that are on the card, in this case butterflies and in this case it would probably work. However, the best and easiest way to find the images you want is to use the codes that Cricut assigned each image.
Unfortunately Design Space was created after our cartridges were released so the booklets included with the cartridge do not have the codes printed with the images. BUT Narelle at The Non-Crafty Crafter went through each Close to My Heart booklet and typed in each code for each image. How awesome is she!!!! Click here to link to her hard work and download your own copy of each CTMH cartridge booklet with codes.
OK back to the card....Input the code shown above in the search field- The # must be included in the code. This will pull up the card image shown above. Design Space does not pull in the card at any specific size so make sure you adjust the size under edit in Design Space. I created this card to be a 5x7 so using the Edit button and under height I entered 7 and width automatically adjusted to 10 (with the lock button on). I then just cut the card out on our White Daisy Cardstock. Always save all of the negative images from your cards because you never know when you might want to use them on another card or layout. In this instance, the negative images were beautiful butterflies that I was able to bring back into my card.
After cutting out the card, fold on the score line created when cut out. I then needed an inside to my card so using my trimmer I cut a piece of patterned paper from the Blushed Paper Pack 7x10, scored it the 5" mark, folded it and glued it to the inside of my card.
From there I just simple used some of the negative butterflies (butterflies that were cut out to create the card), folded the wings up and glued down just the body to random holes on the card - not the original spot where each butterfly was cut from but randomly so the colors from the patterned paper would seep through the extra space and add dimension. They I simply added a Pixie Aqua Dot to the head of the folded butterfly. Wa-la!
For the inside of the card I wanted to add just a simple sentiment so I got out the stamps that came with the Artfully Sent card and decided to use the frame and sentiment set.
To cut the frame for the Curlicue Stamp Set (D1631) to fit, I first had to locate the image in the booklet. Here's the tricky yet not tricky part. As I said earlier, in Design Space all the cards and their icons, embellishments, sentiments are already laid out and attached on the card for you. All you do is add the code to the search field and it brings up every layer for you. If I wanted to cut the whole card that would be perfect! However, I just want the frame piece. So.... I put in the code #M101A2 (see below), which pulls up all the layers of the card, then I select ungroup and am able to separate all the layers. From here I just delete each piece except for the one I need - the frame (or Icon) as shown below.
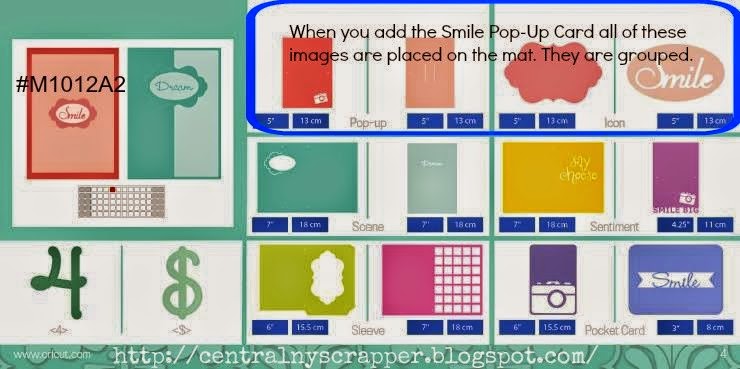
(Thanks to Brenda Lapp for creating this picture above of the booklet so I could show you how!)
Once all I had on my screen was the icon/frame you press go to cut. I ended up stamping the frame in Cranberry and the Sentiment in Lagoon. And there you go. It takes a lot more typing for me to explain it but really the process is pretty simple - especially when you have the codes for each card - thank you again Narelle!
I hope you were able to learn something or be reminded of something here. Close to My Heart's Cricut Cartridges are the absolute best and offer soooo much more than the other regular cartridges. Don't be intimated by all they have to offer and come with - just enjoy all the possibilities!
To see all the Cricut cartridges CTMH has created check out my website.
Subscribe to:
Posts (Atom)


.jpg)