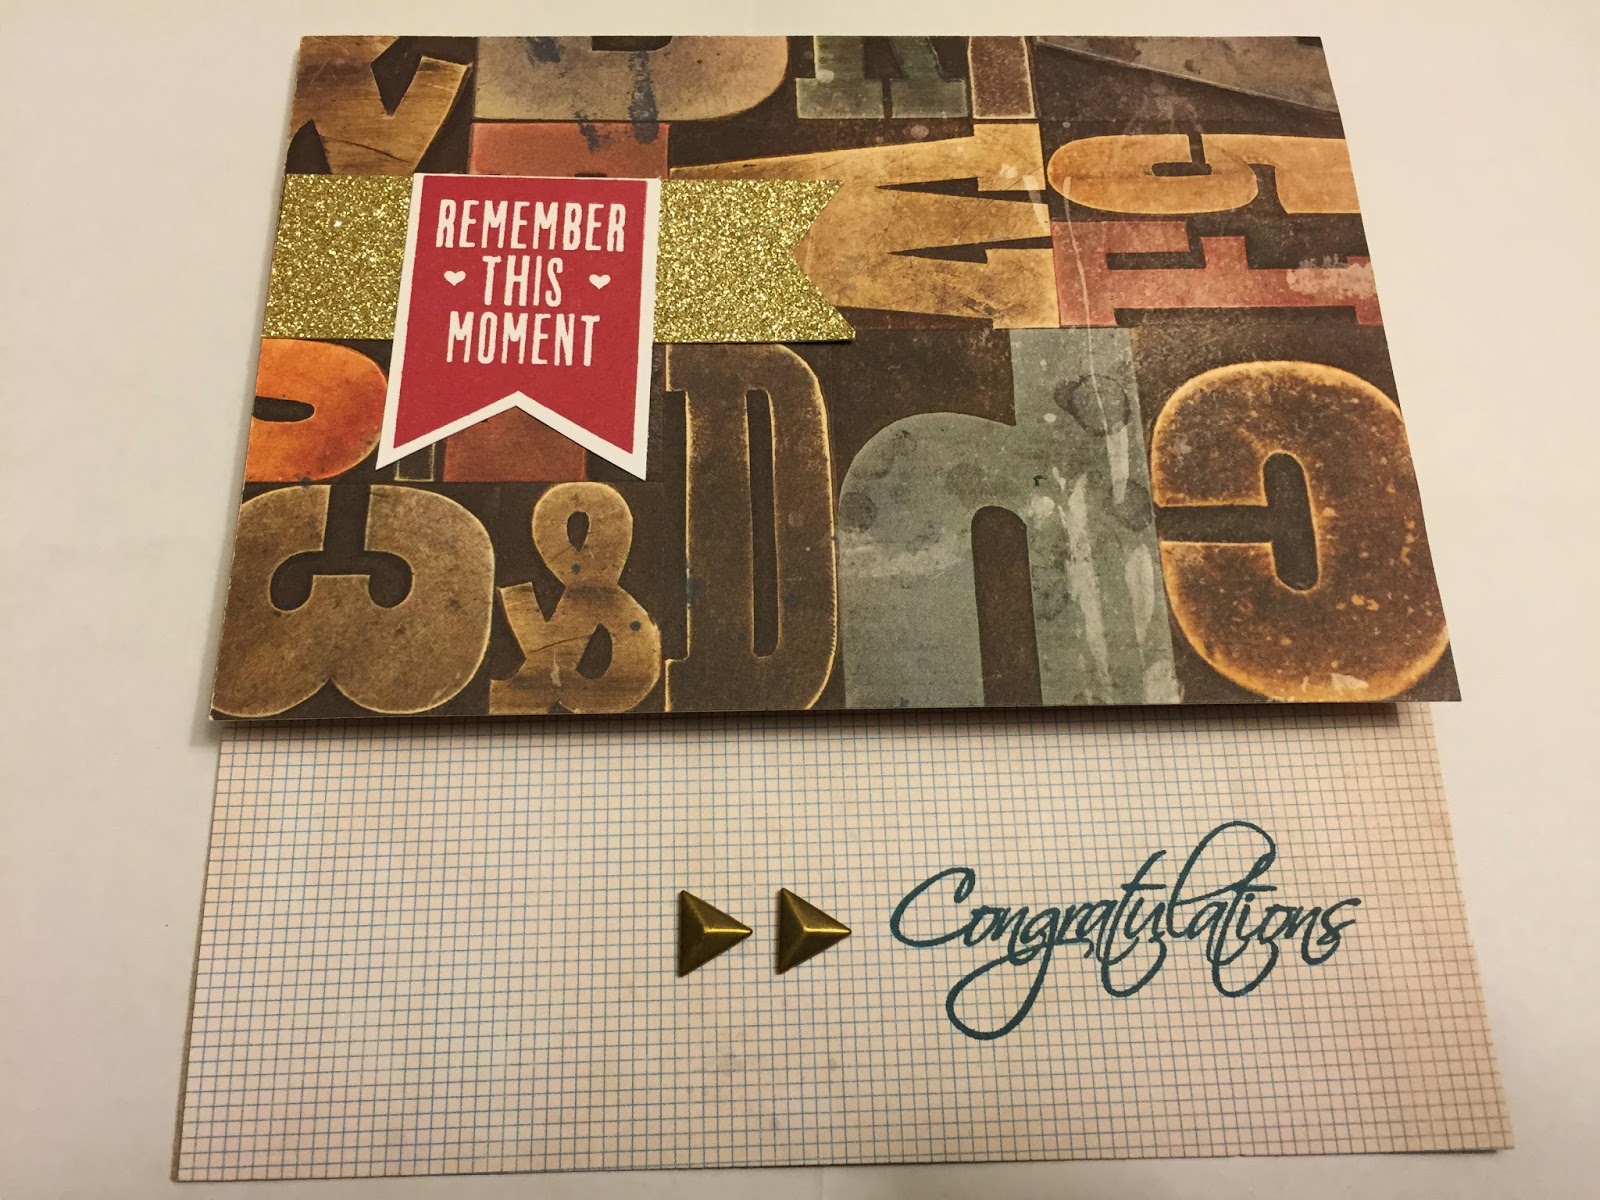
This time of year is so fun! One week there is snow here and the next week we are having beautiful 60 degree weather. With spring right around the corner I needed some cheerful colors in my scrapbook room so I decided to play with our Brushed papers and created this VERY simple card.

I
Let Me Show you how to make this card too!
I created this card using the New Cricut Explore/Design Space and Close to My Hearts Artfully Sent Cartridge.
The first thing to know about using the new Cricut Explore machine and the Artfully Sent cartridge is that all the images are grouped together for each card or envelope. You can search by attributes that are on the card, in this case butterflies and in this case it would probably work. However, the best and easiest way to find the images you want is to use the codes that Cricut assigned each image.
Unfortunately Design Space was created after our cartridges were released so the booklets included with the cartridge do not have the codes printed with the images.
BUT Narelle at The Non-Crafty Crafter went through each Close to My Heart booklet and typed in each code for each image. How awesome is she!!!!
Click here to link to her hard work and download your own copy of each CTMH cartridge booklet with codes.

OK back to the card....Input the code shown above in the search field- The # must be included in the code. This will pull up the card image shown above. Design Space does not pull in the card at any specific size so make sure you adjust the size under edit in Design Space. I created this card to be a 5x7 so using the Edit button and under height I entered 7 and width automatically adjusted to 10 (with the lock button on). I then just cut the card out on our White Daisy Cardstock. Always save all of the negative images from your cards because you never know when you might want to use them on another card or layout. In this instance, the negative images were beautiful butterflies that I was able to bring back into my card.
After cutting out the card, fold on the score line created when cut out. I then needed an inside to my card so using my trimmer I cut a piece of patterned paper from the Blushed Paper Pack 7x10, scored it the 5" mark, folded it and glued it to the inside of my card.
From there I just simple used some of the negative butterflies (butterflies that were cut out to create the card), folded the wings up and glued down just the body to random holes on the card - not the original spot where each butterfly was cut from but randomly so the colors from the patterned paper would seep through the extra space and add dimension. They I simply added a Pixie Aqua Dot to the head of the folded butterfly. Wa-la!
For the inside of the card I wanted to add just a simple sentiment so I got out the stamps that came with the Artfully Sent card and decided to use the frame and sentiment set.
To cut the frame for the Curlicue Stamp Set (D1631) to fit, I first had to locate the image in the booklet. Here's the tricky yet not tricky part. As I said earlier, in Design Space all the cards and their icons, embellishments, sentiments are already laid out and attached on the card for you. All you do is add the code to the search field and it brings up every layer for you. If I wanted to cut the whole card that would be perfect! However, I just want the frame piece. So.... I put in the code #M101A2 (see below), which pulls up all the layers of the card, then I select ungroup and am able to separate all the layers. From here I just delete each piece except for the one I need - the frame (or Icon) as shown below.
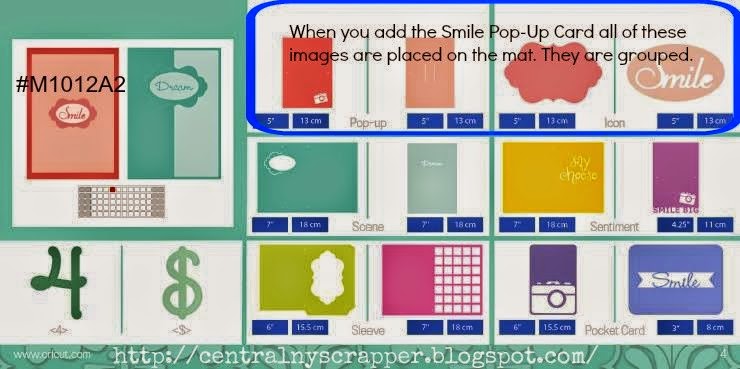
(Thanks to Brenda Lapp for creating this picture above of the booklet so I could show you how!)
Once all I had on my screen was the icon/frame you press go to cut. I ended up stamping the frame in Cranberry and the Sentiment in Lagoon. And there you go. It takes a lot more typing for me to explain it but really the process is pretty simple - especially when you have the codes for each card - thank you again Narelle!
I hope you were able to learn something or be reminded of something here. Close to My Heart's Cricut Cartridges are the absolute best and offer soooo much more than the other regular cartridges. Don't be intimated by all they have to offer and come with - just enjoy all the possibilities!
To see all the Cricut cartridges CTMH has created check out my
website.