Background

Sunday, April 21, 2019

A Craft with Heart review

Craft with Heart, Close to My Hearts monthly scrapbook layout subscription program was released last August and though I have talked about it on my Facebook page I haven’t said much here on my blog.  

As a quick review, the subscription can be purchased monthly, quarterly or annually. With both the quarterly and annual subscription you receive 4 months of layouts at a time but with the annual subscription you receive free shipping and 30 free photo prints from Persnickety Prints with each shipment.  The base page of each layout is already designed and laid out but accent pieces are included for you to add dimension with 3D Foam tape   This gives you a beautiful design with minimal effort helping you scrapbook faster, simpler and easier. 

Here are the layouts that were sent and I created with the latest shipment.

Something Fierce:
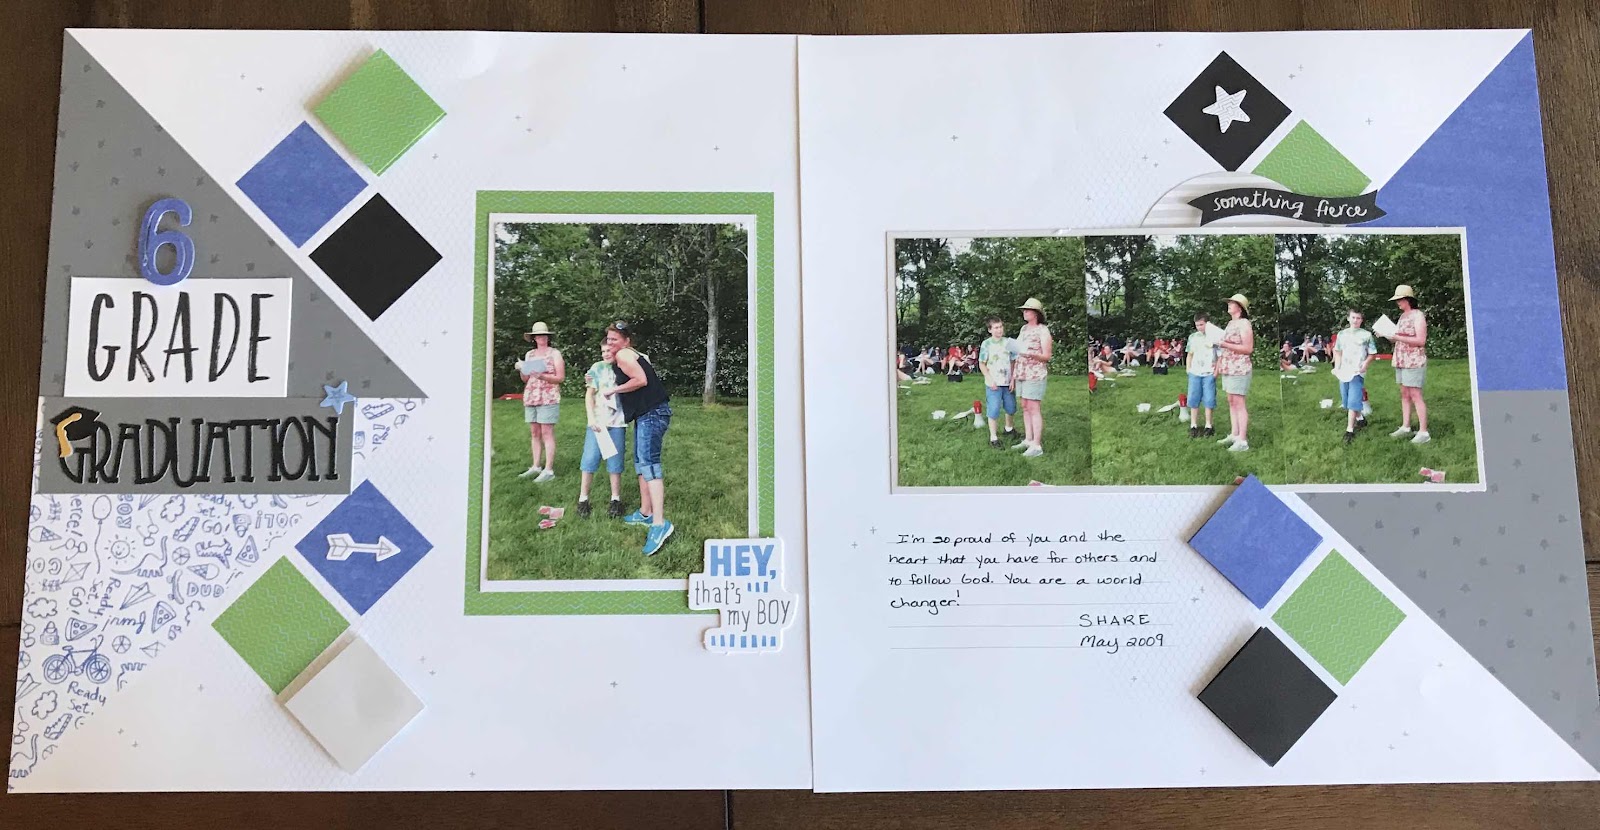
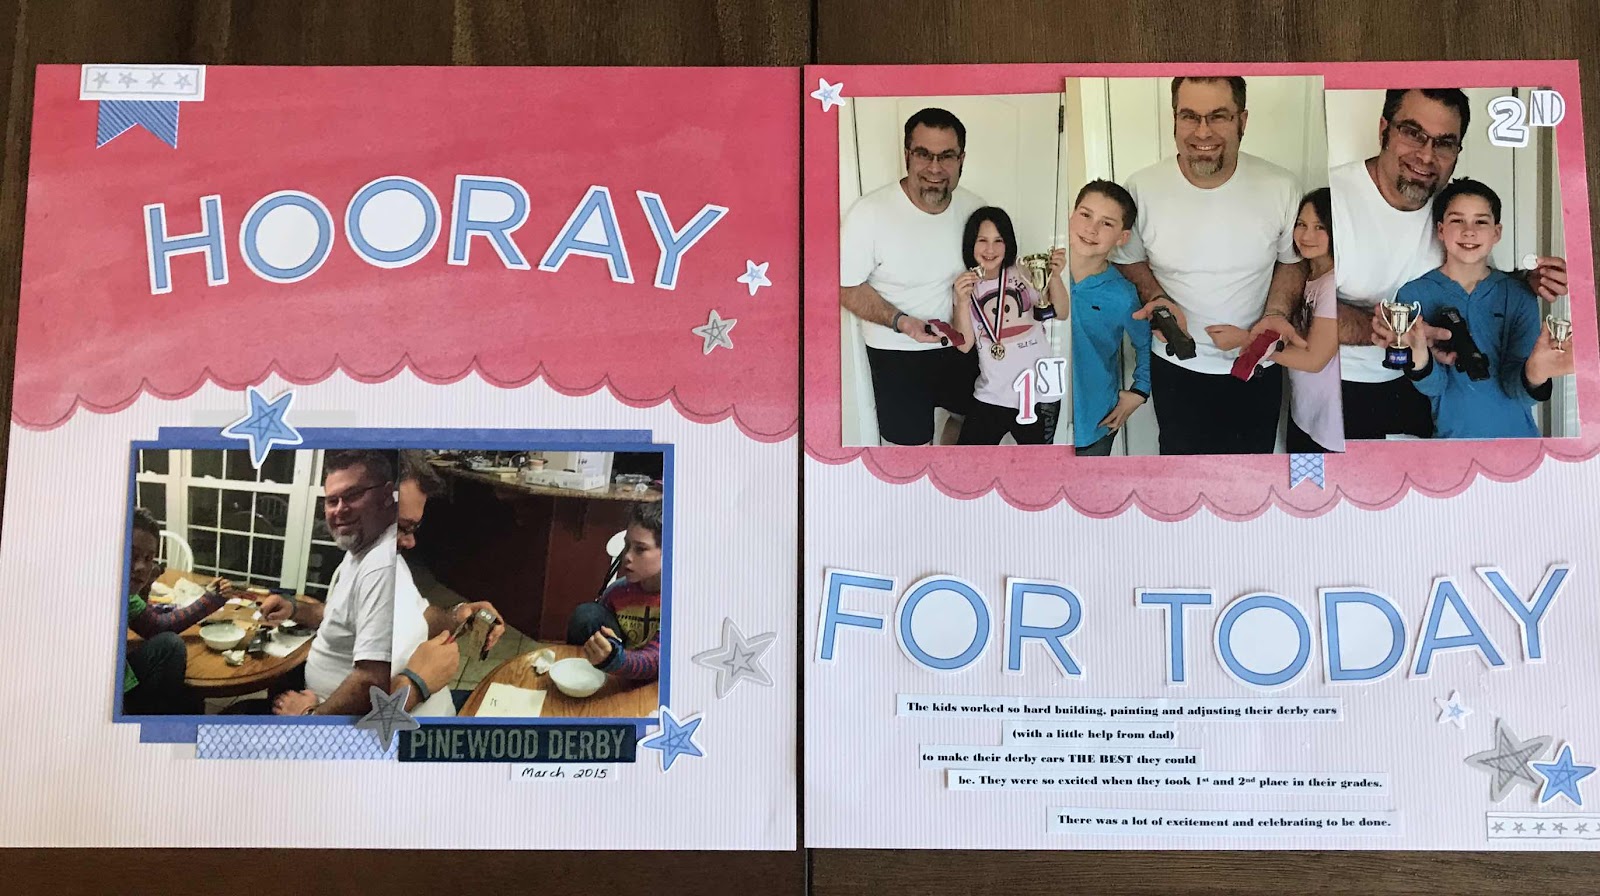
I used the Brushed Alphabet (one of my favorite alphabet stamp sets) and a couple cricut cuts for my title but stayed pretty true to the layout as created and shown. 


I Heart Us:
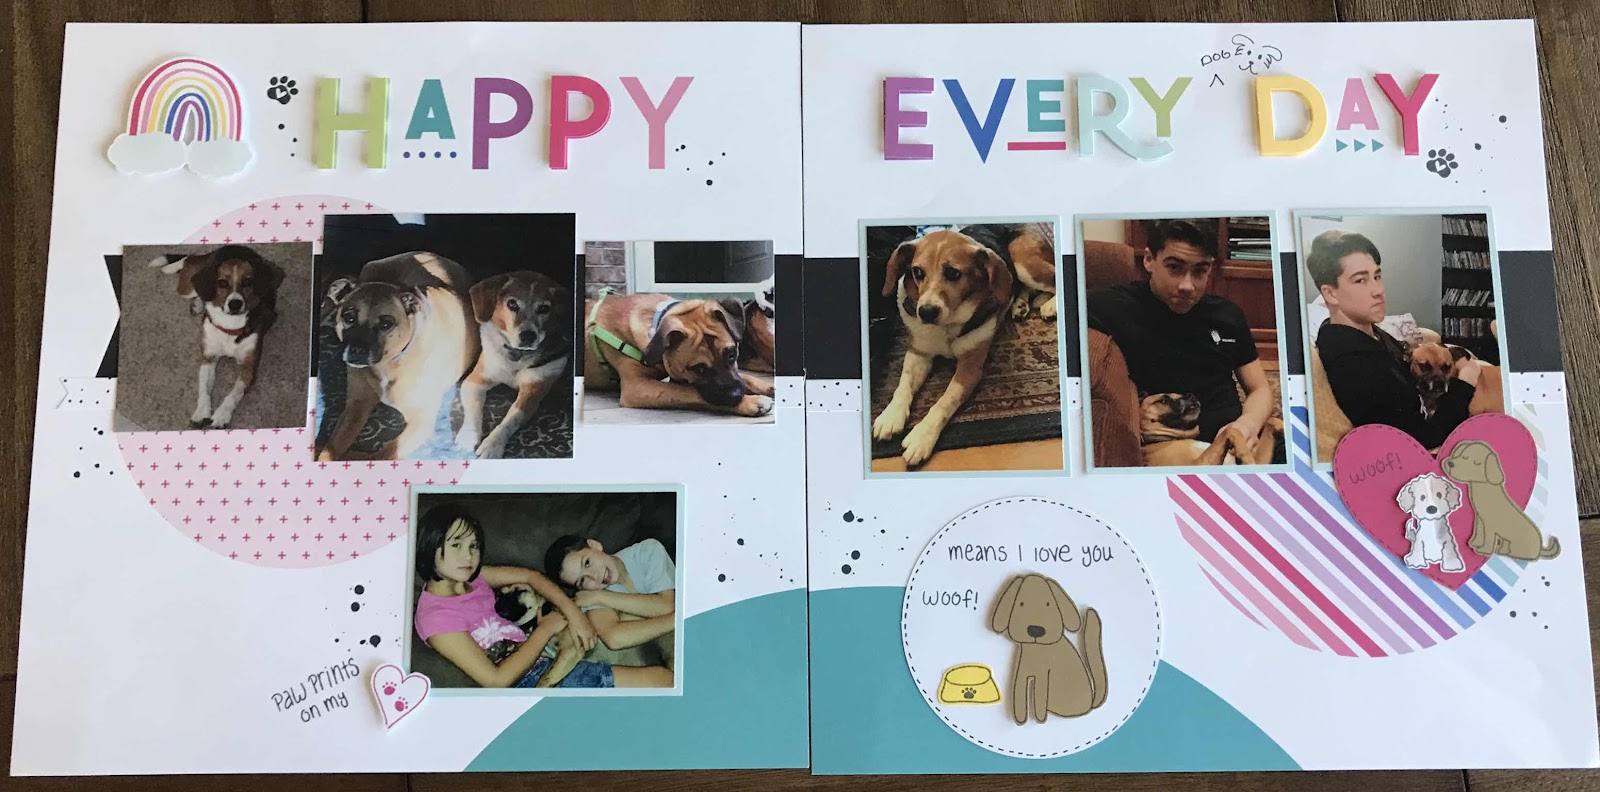

For this layout I used the Paw Prints on my Heart stamp set to help embellish my layout and tell its story.  The horizontal picture on the bottom of the left page wasn’t originally shown in the sketch but I felt like it needed to be part of the layout so I added it in - making it mine.  

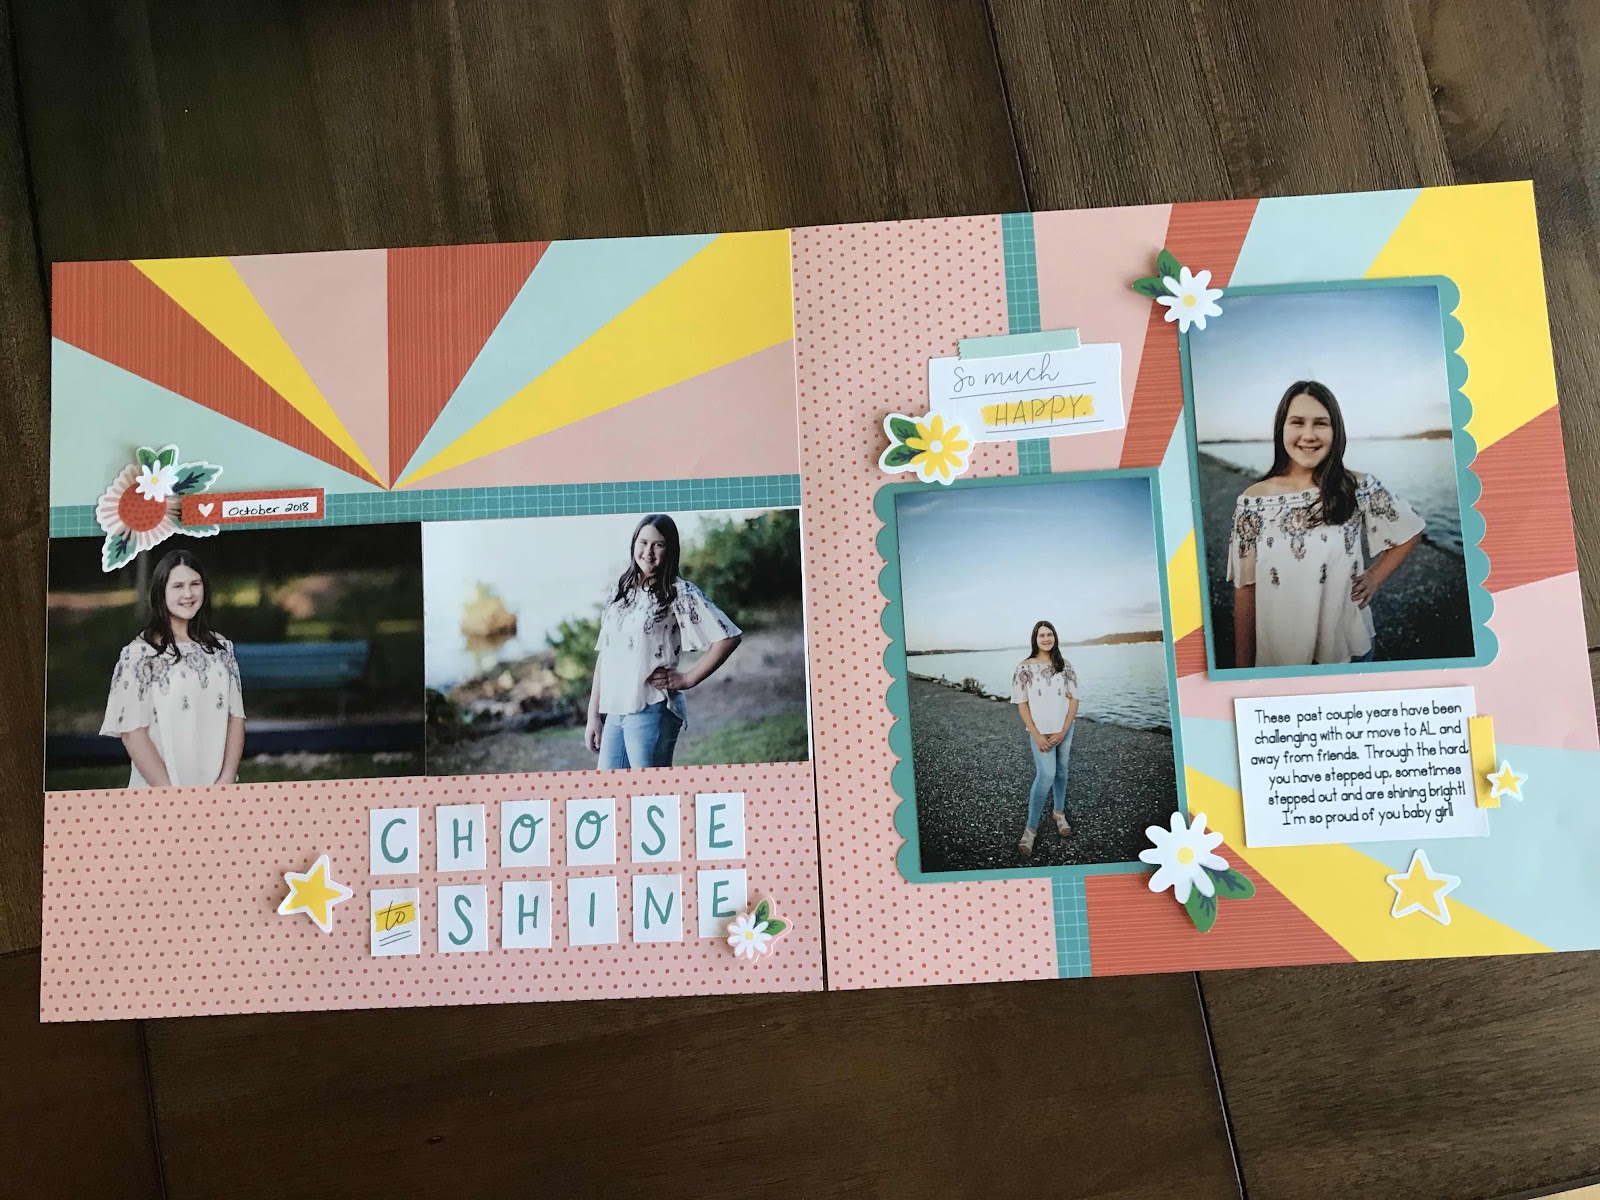
So Much Happy:


Feels like Home:

Here I changed the direction of the photos on the left page because it’s what I had to work with. :-)
The flowers in the Feels Like Home kit are black and white - the perfect canvas to make it your own.  However I added color to the flowers using the Sugarplum Shimmer Brush on the outside edges of the flowers and colored in the flowers with last years color of the year - Bashful. This added just a pop of color in the grey areas to really accentuate the pictures and draw them out. Finally I added some Silver Embellishing Thread behind the flowers and finished off the layouts with some Sugarplum glitter gems. 


So, after creating all of these layouts, what are my final thoughts?  I love that each of these layouts took me between 15-30 minutes to create, more when adding my own touch to it.  The layouts looked great on their own but I love that I can add a little something extra here and there to make it my own. I hope you like them as much as I do.  Click here to try out the Craft with Heart for yourself.  Also, when you sign-up for a subscription through my website you will be added to my special, exclusive Facebook group where I talk over each layout and also shows off other options that other professional bloggers and scrapbookers have created with their Craft with Heart layouts. 

Happy Scrappin’!

Saturday, March 30, 2019

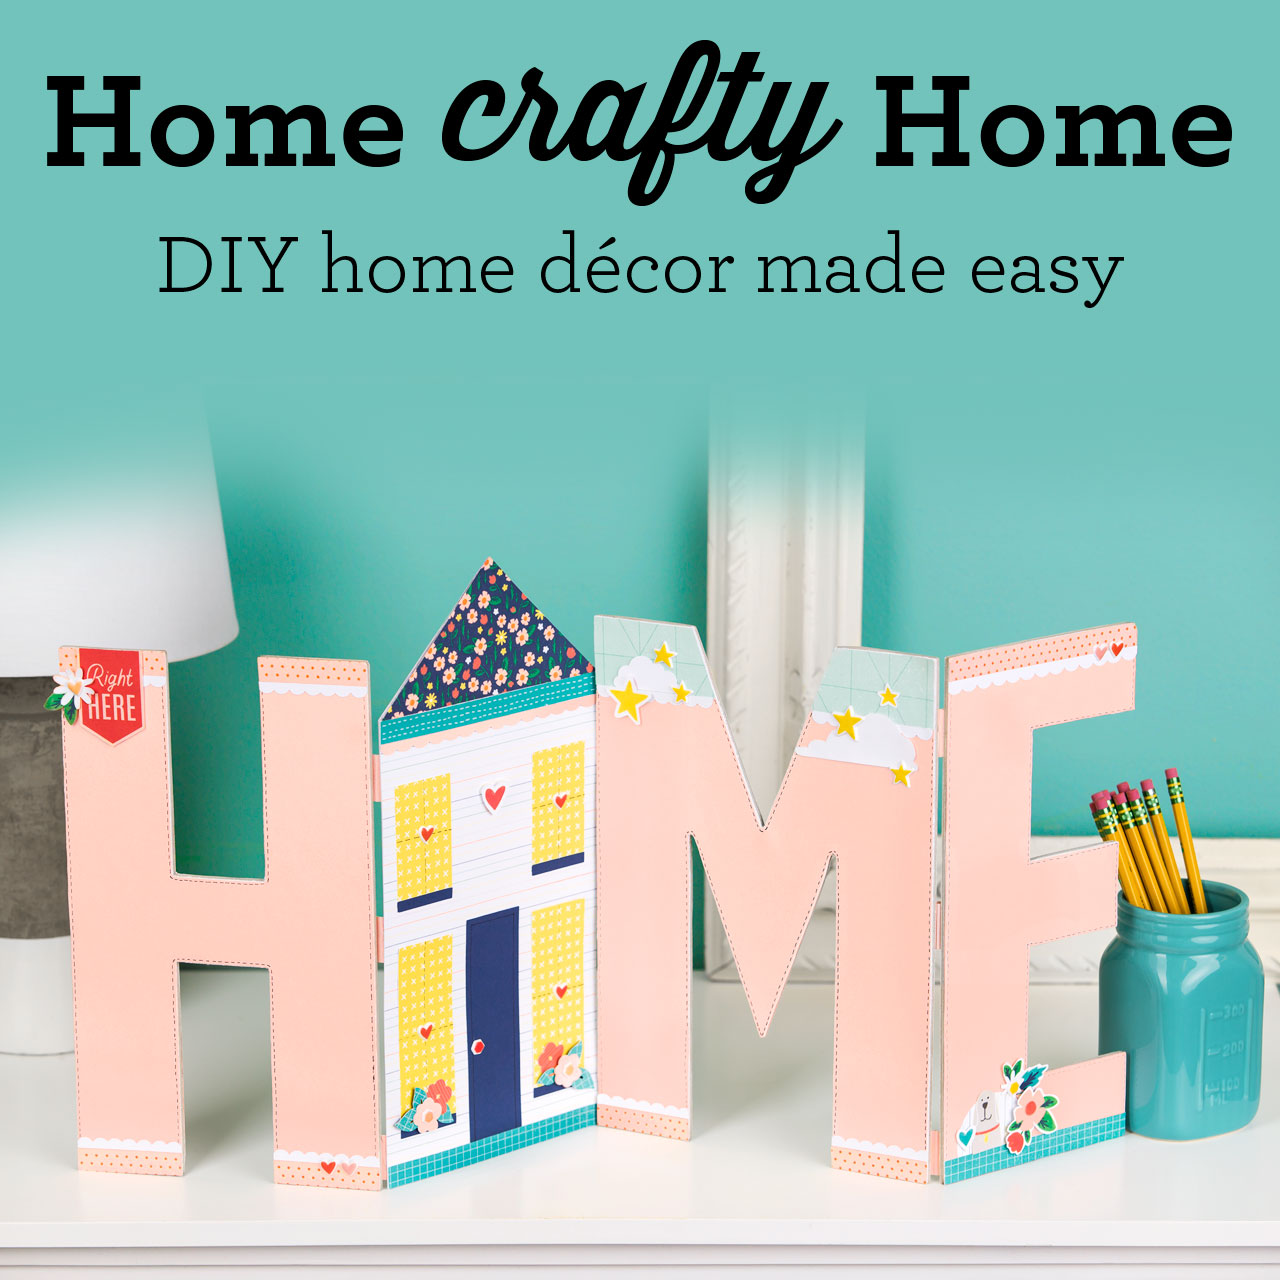
Celebrating HOME


I love this new Home Decor kit that Close to My Heart has released using the So Much Happy Paper and Chipboard Monogram letters. The bright colors are so bright and cheerful - a great way to welcome in Spring.

With the Home Chipboard Monogram workshop, you can create a papercrafting project that is sure to add a cozy touch to any room! This workshop uses chipboard monogram letters and easy-to-cut shapes from the Cricut Design Space™ project file created just for this workshop.  In order to cut from the project file, you must own the Artistry collection and have a Cricut® machine that is compatible with Design Space. The workshop instructions can be downloaded from your my website.  Don't own a cricut machine that is compatible with Design Space?  That's o.k. - for a small fee I will cut the pieces for you and mail them directly to you.  Contact me today for all the details. 

MAKE IT YOUR OWN!

I love the design and the style of the Monogram kit but my house colors don't quite match.  So, I made it my own!  I purchased the Monogram letters and the "Feels Like Home" paper pack and complements and was able to create these letters that fit my home.


Order the Home Chipboard Monogram Kit or the individual letters and your favorite kit to spruce up your home and welcome in spring the Close to My Heart way.

Sunday, March 10, 2019

Love Blossoms Blog Hop


Welcome to our Love Blossoms Blog Hop. This hop features our continued special - Love Blossom and the beautiful double stamp set. If you came from Brenda Lapp's blog you are on the right track. If you are just starting the hop, it is a big circle so when you get back to me, you will know you finished the hop. You will find the next blog to hop to at the bottom of my post. 


On my card, I chose to highlight the Color of the Year - Sugar Plum and our new Watercolor Pencils. I stamped the sentiment and flower on our watercolor paper using Intense Black because it is permanent and will not run or smudge when painting over it.  The stamp set comes with an "inside" image for the flowers so I stamped them in Sugarplum and went over the outside edges with our Sugarplum Shimmer pen. For the leaves, I used our watercolor pencils and but not in the traditional way.  When using watercolor pencils on dry paper the pencil tends to be very muted but dampen the paper with a little water and the color takes on a much brighter tone. OR you can do like I did and used my watercolor pen and brushed it over the lead of the pencil and then brushed it on my leaves.  So easy!!!  I love all the uses and different variances we can get out of these simple but dynamic pencils.  I framed the stamped front in our silver foil paper and layered that on top of our Sugarplum cardstock.  I finished my card with a few little Sugarplum Glitter Gems. I hope you like it. 


Product Used:
White cards and Envelopes - X254
Love Blossoms stamp set - CC2199
Sugarplum Cardstock - X5989
Watercolor Paper Pad - Z4243
Sugarplum stamp pad - Z6500
Watercolor Pencils - Z4242
Silver Foil Paper - Z3366
Sugarplum Glitter Gems - Z4192
Intense Black Ink Pad - Z4189
                                                      Sugarplum Shimmer Brush - z4210

Now it's time to hop over to Krista Hershberger's blog to see what she has created with the Love Blossom stamp set. 

Monday, February 11, 2019

Creating some Happy Hearts with cards

A couple days ago I showed you the layouts that I created with the Happy Hearts paper and stamp collection.  Today I want to show you the cards that I created.  Last November I gave my retreat girls a challenge to mail five cards a month to bring a smile to peoples faces. I love how many of them have risen to the challenge. The cards are beautiful and I KNOW many smiles have come from their cards.

I decided to change things up a bit for myself for February. Instead of sending them to different people this month, I plan to hide several of these cards in my husbands bags,  drawers and maybe even his car for him to find throughout the month.  As I watch my daughter with her boyfriend leave little notes for each other, I wondered why I don't do that anymore. We did it all the time when we were dating 22 years ago but I think it would be fun and spark joy and smiles for him to receive some when he least expects it.  What do you think?  Maybe you should try this too and let me know how he responds 😍.


These cards only took a small fraction of my leftover papers from the kit after completing the layouts I showed you last week.  I love that Close to My Heart gives us so many goodies that allow us to do so much with them.  Talk about a dollar stretched!

As a reminder, the Happy Heart kits are only available during February or while supplies last and when you get the kit with the stamp set, you SAVE 25%.  Get yours today!


Saturday, February 9, 2019

You Make My Heart Happy

When my kids were little we tried to talk with them about always having a happy heart. There are many things in life that we can't control but we need to be o.k. with it, find the best in everything and having a "happy heart" is key.  We still use that phrase quite a bit around here and though it isn't always easy, I think it is a good rule to follow.  Believe it or not, it's actually how I came up with my group and team name - Happy Scrappin' Hearts!

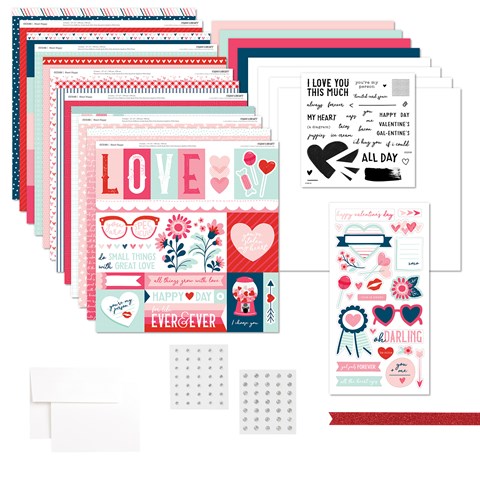
One of Close to My Hearts specials this month is the  Exclusive Heart Happy paper collection and stamp set. Not only does it come in two workshop options but it makes my heart happy!


The also created a whole Everyday Life Album workshop you can create as well with the paper kit.

I love all the creativity and hard work that went into these kits so I don't have to create from scratch - don't you?!

There are several ways to get this collection but when you order the kit that includes the Exclusive Stamp set you SAVE 25%! 

Here is a close up of this fun stamp set only available through February:
Isn't it awesome!  I love it!  

I love the colors of this set and though at first glance it looks like a traditional Valentine's Day paper, there is SO much more that you can do with it.  Take a look at these 4 layouts I completed (3 already with pictures - oh yeah!).


Now I can't take credit for the design of these layouts as another fabulous consultant designed the layouts, however, she did give me permission to share the instructions and Design Space cutting files with anyone that ordered the kit from my website.  As you can see above, Close to My Heart also created some fabulous layouts, cards and tags with these papers and have the instructions downloadable for you.

Be watching the next few days as I post some cards I made using this fun stamp set. 

In the meantime, hop over to my website and take a closer look at the kit for yourself.  It's so pretty and you aren't going to want to miss out on this one for sure!


Saturday, January 5, 2019

Frame it Up for National Papercrafting Month


Welcome to 2019!

I love the promise of a new year, fresh starts and National Papercrafting Month. There is no better way to start a new year off than with a special kit from Close to My Heart. I love what CTMH surprised us with this year -  this beautiful papercrafted decor frame.

The Magnolia Frame Kit gives you all the materials to create beautiful papercrafted décor.  Each kit includes sturdy chipboard frame (including backing), double-sided frame overlay, “love” and “home” sentiments, shiplap-printed backing sheet, 3 sheets of die-cut leaves and flowers, and 1 sheet of gold foil die-cuts.


There are so many different ways to use this versatile kit, which is why we’re offering special pricing when you buy more than one! Save 15% when you buy two, or save 30% when you buy three! Plus, you can get one FREE by signing up as a Close To My Heart Consultant in January or hosting a qualifying party!

I absolutely love how versatile this project is.  The workshop brochure included in your kit even shows several other ways to decorate it up using pictures and large chipboard monogram letters.

Here is one simple, fun change you can do to make the leaves look even more realistic.  Add a little liquid glass with your finger or paint brush and your leaves take on a whole new look!


Make sure to grab your Frame It Up kit before they are gone. They are only available through the month of January or while supplies last.

Wednesday, April 25, 2018

Scrapbooking to the 50’s

What do you do when you never get to scrapbook, you finally decide you are going to start and complete a layout, you pick the pictures and then realize that you don’t have a clue what paper you can use to create the layout?  You panic, set the pictures aside and say I guess I won’t be scrapbooking these this time.  Actually, I hope that’s not what you do. The correct answer is... get creative.

About this time last year, my two oldest children attended their homeschool formal - you know it’s time to scrapbook the event when the next one is almost here. It was such a fun theme and I couldn’t wait to scrapbook the pictures accept life kept coming and my scrapbook time seemed to get shorter and shorter. Two weeks ago I finally decided it was time. Time to take some time for me. Time to have some fun and scrapbook. Time to tackle over 100 pictures and try to keep those pictures to one to two double page layouts. Scrapbookers are infamous for taking way more pictures then we will ever be able to use but we don’t want to miss a thing (I’m proud to be a scrapbooker 😁).

The theme of the formal was Shake, Rattle and Roll. Lots of 50’s themed items were brought in, including a couple cars and trucks. I admit I spent quite a bit of time looking through my stash of papers looking for 50’s themed paper but came up empty. Then I changed my mindset and thought if I could find just one piece of patterned paper that looked like it was from that era then I could supplement the rest with card stock.  I was excited to find one piece of argyle paper with colors that would work from our Cruisin’ My Reflections paper pack from 2012! See, this is why it is so important that we have a stash of paper to go through for our layouts. You have my permission to tell your husbands I said so.  Please feel free to give him access to my website so he can buy you more paper but make sure you don’t give him my phone number to call and complain about the size of your stash😃.

I had to be creative with my embellishments, cardstock, cricut but ended up pleased with my final layout. So after all that yappin’, let me show you what I came up with.


On the left page, you can see where I added a Pocket Plus page  in order to add more photos to the layout. I would normally tell you to separate pictures with a journaling card or embellishment piece in the Pocket Plus page but I had too little paper and too many pictures to follow the “rules”.

Here’s the layout with the Pocket plus page turned over and a white frame overlay added to my middle picture. Again, just another way to break up the constant look of pictures and add interest and definition.


Here I add a piece of paper from our retired Basics Paper Fundamental pack.  To add in more pink to the layout and match my daughter's dress, I highlighted the words "love life" with the Watercolor Paints and this years color of the year color - Bashful. The cardstock colors and Crusin' papers are a little dark so to lighten them up and help draw out my daughter in the photos I added small accents of bashful throughout the layout.


If you look closely below the watercolored words you can see where I took some old, retired page protectors from our 4x4 mini albums and created a small mini album of sorts on my layout. If I had our 4x4 flip flaps in arms reach I would have used them instead but this was a great way for me to use up some of my retired items so I just went with it.

 I used some of our large, retired brads to hold all the pages together. By doing this I was able to add even more pictures without overwhelming the whole layout.


Other then cardstock everything, including my stamps were from my scraps or retired items. I love that I was able to put this layout together with items I already had (which incidentally helps me make room for more, new supplies- yay!)

I hope you are able to craft this week and remember to get creative, not frustrated!

Happy Scrappin'!