Background

Tuesday, November 5, 2019

New Product Blog Hop


I can't believe we are already in the last two months of 2019 but I love that we have this super cute, super fun catalog to give us plenty of crafting fun for the remainder of the year. If you came here from Kristine Ponte’s blog you are in the right place. We are here to show you all things new and super cute!

I love Christmas and am usually all about traditional Christmas cards. However, I saw this cute elf in the New Holly Jolly Cardmaking Workshop Kit and fell in love!


I had recently seen a video on a moving card and thought a dancing elf would work perfectly. I changed the card up and made it a simple pull card/gift-card holder.

The stamp set included in the card kit gave me plenty of options to make some really cute cards. The gifts in his hands can easily be switched out for a sign or name tag.  I added the Fa-la-la-la with an old stamp but everything else is current.  I backed the "You made the nice list" note with Red Glitter paper to make it pop a little and added red gems to represent musical notes rising up.   I colored his hat, shoes and bow on the presents with the Red Shimmer Brush and filled the fuzzy part of the hat with the Diamond Stickles Glitter Gel


Here you can see where I pulled out the card to reveal another note of "Special Delivery". A small note can be written on the card that I pulled out and then a gift card can be attached to the back of red pull-card itself.

Now hop on over to Ronda La Duke’s blog to see what she has been creating.  If you get lost during the hop and want to start from the beginning, hop over to Melinda Everitt's blog.

Happy Scrappin’!

Friday, July 19, 2019

World Changers

It's been almost a year now and I am still in love with the Craft with Heart subscription box. I love the simplicity of the layouts but also the ability to change them up super easily and make them mine. Also, at this time of my life sometimes it is hard to have much time to scrap so having a base to begin is SO helpful.

Today I was able to play with one of the Craft with Heart layouts from Into the Wild. Here is the layout as they created it to be made:


Here is my final layout:

As you can see, I stayed to the basic layout design but made it work for my pictures.  If you look closely to the top white area of the original layout there is a word pattern that fits well for a baby.  I don't have any little babies anymore and I know many of you don't either.  To change that, I simply added a white daisy cardstock, cut to still allow the Pewter photo mat to pop out. It took a little measuring and cutting but it honestly only took about 5 minutes.  A super quick fix to make the layout more versatile.   I changed the title by cutting out on my cricut the title "World Changer". The director at our homeschool tutorial constantly refers to students as world changers encouraging them to do just that - impact and change our world.

I wanted to incorporate the graduation invitation so I added a 5x7 flip-flap that will attach to the outside of the page protector. 


For embellishing the layout, I found the cute title "reach for the stars" on circut and cut it out on one of our tags from the Art Philosophy Cricut Cartridge.   The journaling strips were left over from previous Craft with Heart layouts and then I added lots of little embellishments from several of my retired stamps. I love being able to use my stamps over and over - the beauty of stamps and not stickers.  The stamp sets I used are:

Smarty Pants C1649
Memories in the Making CC9182
Just a Little Something C1730
Graduation Tassel C1755


If you haven't tried the Craft with Heart subscription yet, give it a try!  It is such a great value with gorgeous layouts to keep you scrappin' faster simpler and easier!  Click here to get all the details!

Happy Scrappin'!


Saturday, June 1, 2019

It's Your Day to Sparkle Blog Hop


Image may contain: text


Welcome to the June Stamp of the Month Blog hop!  If you came here from Kristine Pointe's blog you are in the right spot. The blog is a big circle so when you get back to me you know you have completed the whole hop.  You can find the next blog to hop to below. 


This month we have this beautiful, super versatile, celebration stamp set as our Stamp of the Month.  As my daughters get older and we celebrate the entry to teenage years for one (please pray for me!) or her sweet 16 for another (double the prayers please!) I can see so many uses for this stamp set. However, I know several people celebrating their anniversary and/or getting married this summer so I wanted to create a card for the occasions. 


In this card, I used the True Love papers as my base. I stamped the cake image on white daisy and cut it out.  I then stamped the cake plate on the blue patterned paper from the True Love paper packet, trimmed it out and paper pieced that on top of the white daisy cut out.  For the flowers, I simply colored in the flowers with the color of the year - Sugarplum Shimmer Brush and the leaves with the Sap Green ShinHan marker. As an added embellishment, I stamped on scrap paper 3 more of the small rosettes, colored them in and cut them out to decorate the rest of the cake and add to the bottom of the card. Making a small banner out of scraps I added the saying "always & forever" in New England Ivy.  I popped the title and the cake up with our Thin 3-D Foam Tape (the thin tape is perfect for cards and sending them in the mail) To give the look of the banner sticking out of the cake I glued down two small strands of the new Sapphire Crocket Thread to look like stakes holding up the banner. As always, I couldn't leave it my card along without a little extra sparkle.  I love the sparkle the Sugarplum shimmer Brush gives the flowers and decided to use the gold shimmer brush and trace the lines of the cake.  It's hard to show the shimmer in the picture but it gives it such a special feel. Perfect to celebrate the occasion.  I added a little silver embellishing thread between the background papers and three bitty clear sparkles around the bottom flower. With a stamp set titled It's Your Day to Sparkle, I couldn't not add lots of sparkle!

 Ta-da!  I hope you like!

Don't forget: The It's Your Day to Sparkle stamp set is only available during the month of June and is only $5 with any $50 purchase!  Make sure to get yours before it is gone!

Now to see what the fabulous Jen Rubio created select here!

Happy Scrappin’!


Wednesday, May 8, 2019

How Old Can You Go Challenge

With all the AMAZING product that Close to My Heart released this month in their Seasonal Expressions 2 book it is easy to get swept away and want it all (yep, I do!)  But what about the super cute papers and embellishments that you already have?  If you are like me you have lots of supplies that you really love but i\they are quickly forgotten because of all the pretty new items appearing.   I want to help you use your old supplies to help make room for all the new goodies you NEED.

So... Announcing our newest challenge. 

How Old Can You Go 

At least once a month from May to August I will post a challenge on my facebook page for you to create using as many old supplies as you can. During that month, upload and post your own creation using your older supplies to the ScrappinwithHeather facebook group.  On August 25th, each person that participated in the challenge all 4 months will receive $10 in product credit of papers, inks, or stamps towards their own $20 purchase made between August 25 and August 31st. 

To make it an even better, for each month that you include 3 or more retired/old items in your project, you will receive an additional entry into the Hostess Rewards pot.  I will hold the drawing on August 25th and the person chosen will receive an additional $25 in Hostess Rewards.  

Here are a couple layouts I created for May:


Here is what I used:
Cricut - Artbooking
Cricut - You are Here
Take Note Artbooking Stamp Set
This Happened Stamp of the Month - March 2019
Slate Cardstock - retired 2017
Basic Fundamentals - retired July 2017
Embossed Sapphire Cardstock - retired 2016
La Vie En Rose Paper Pack - retired 2015
Black Gems - retired 2015
Pictures from 2015


Here is what I used on this 2nd layout:
Cricut - Artbooking
Cricut - You are Here 
Game Day stamp D1829 - current
This Happened Stamp of the Month - March 2019
Basic Fundamentals - retired July 2017
Memo Fundamentals - retired July 2017
Slate Cardstock - retired August 2017
Embossed Sapphire Cardstock - retired 2016
Black Gems - retired 2015
Pictures from 2009

Whew - I was able to go back 10 years!

I used a series of layouts created by fellow consultant Kelly Baxter-Fitzgerald but changed the papers out to use what I already had in stock. Easy Peasy.
As a special bonus just for those people participating in this challenge, I have the cutting files for the above layouts plus 3 more layouts.  If you would like them, email me letting me know you will be participating in the challenge and that you would like the files. Once I see your May submissions in my facebook group I will email you the directions. 

I absolutely loved creating with my old supplies and feeling like it was money well spent. Now I don't feel bad at all when I purchase all the new papers and supplies!  I'm sure you will feel the same.  Will you join me?!

Wednesday, April 24, 2019

New Virtual Class coming to you!

I am so excited about all that Close to My Heart is unveiling in their catalog releasing May 1st and have been trying to figure out a way to create with you again.  I know everyone's time is precious and many times when there is a class or workshop, you already have a family event on our calendar.  That coupled with the fact that we all scrap at different speeds led me to the idea of holding a virtual workshop using our special Made with Love kit.  I KNOW you are going to love this kit and the versatility that it brings.

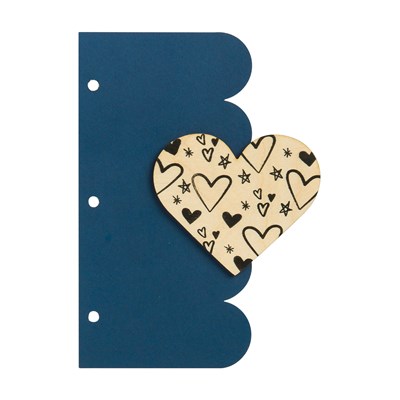
Are you looking for the perfect Mother's Day, Baby Shower, Birthday, Anniversary or Wedding Gift?  This album is a beautiful gift any woman would love to receive!


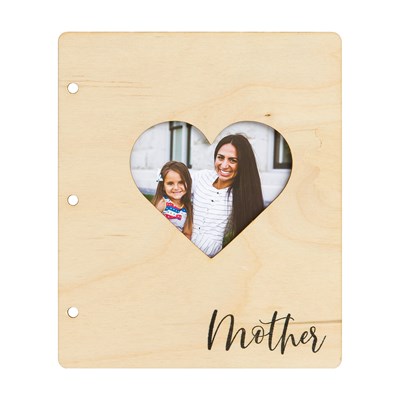
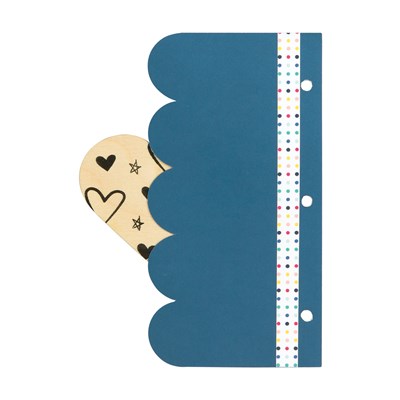
Featuring a Wooden mini album this kit is super cute, super fun and super meaningful.

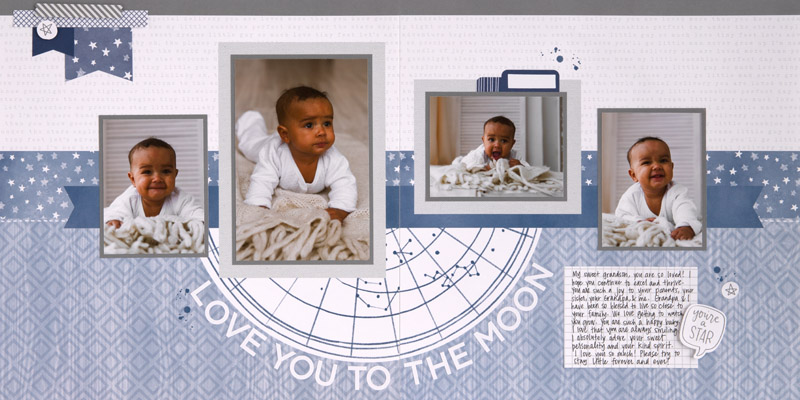
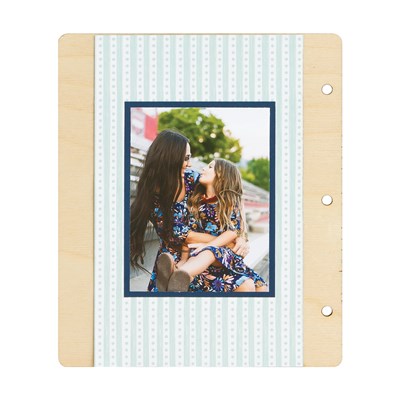
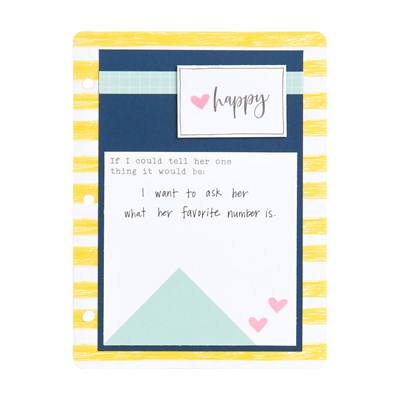
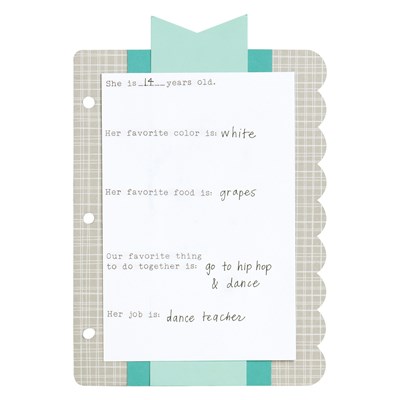
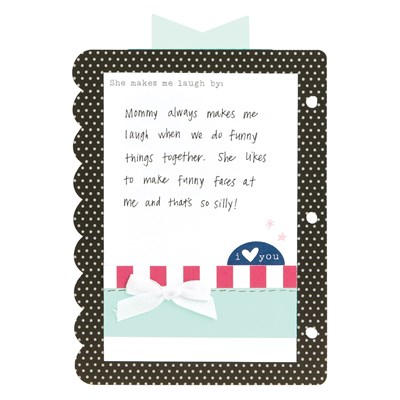
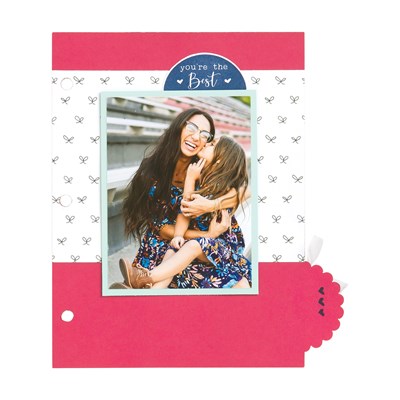
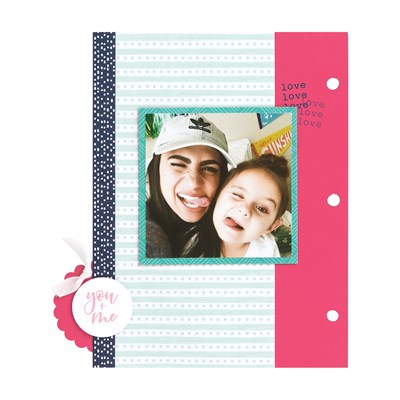
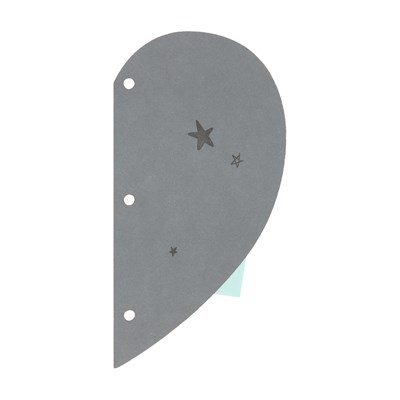
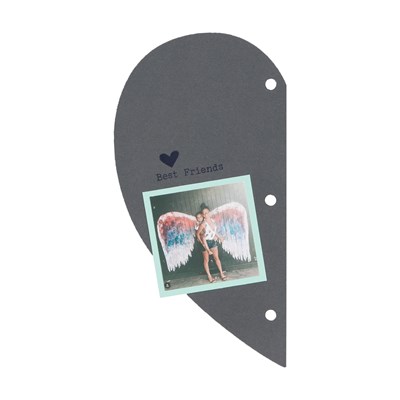
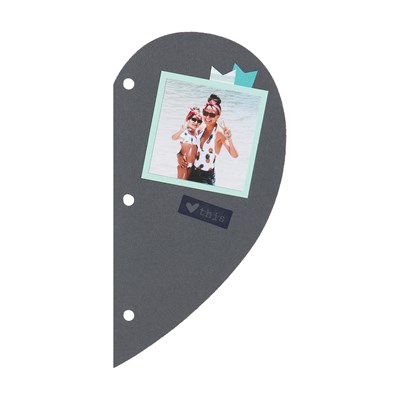
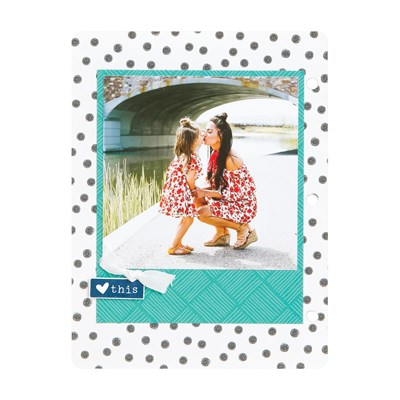
Here is a sneak preview of the pages that we will create to complete the album:

PLUS 4 MORE PAGES!

So how does this virtual thing work anyway?  Well, I'm glad you asked 😊.  I will set up a private closed classroom on Facebook for only those creating the workshop.  I will post two videos in May to complete the workshop. The 1st video will be cutting the papers. I will give you some tips and hints for cutting your papers. For those cutting your own papers, you can cut along with me or use the cutting guide. I will give you some tips and ideas along the way. The 2nd video will be "the putting it all together" video. Watch or work along with me as I show you how to put it all together, pointing out tips and techniques along the way. The videos will stay up so you will have access to them any time you want, even after the sessions are over. That way if you can't join me when I create, you can watch and go at your own pace any time. 


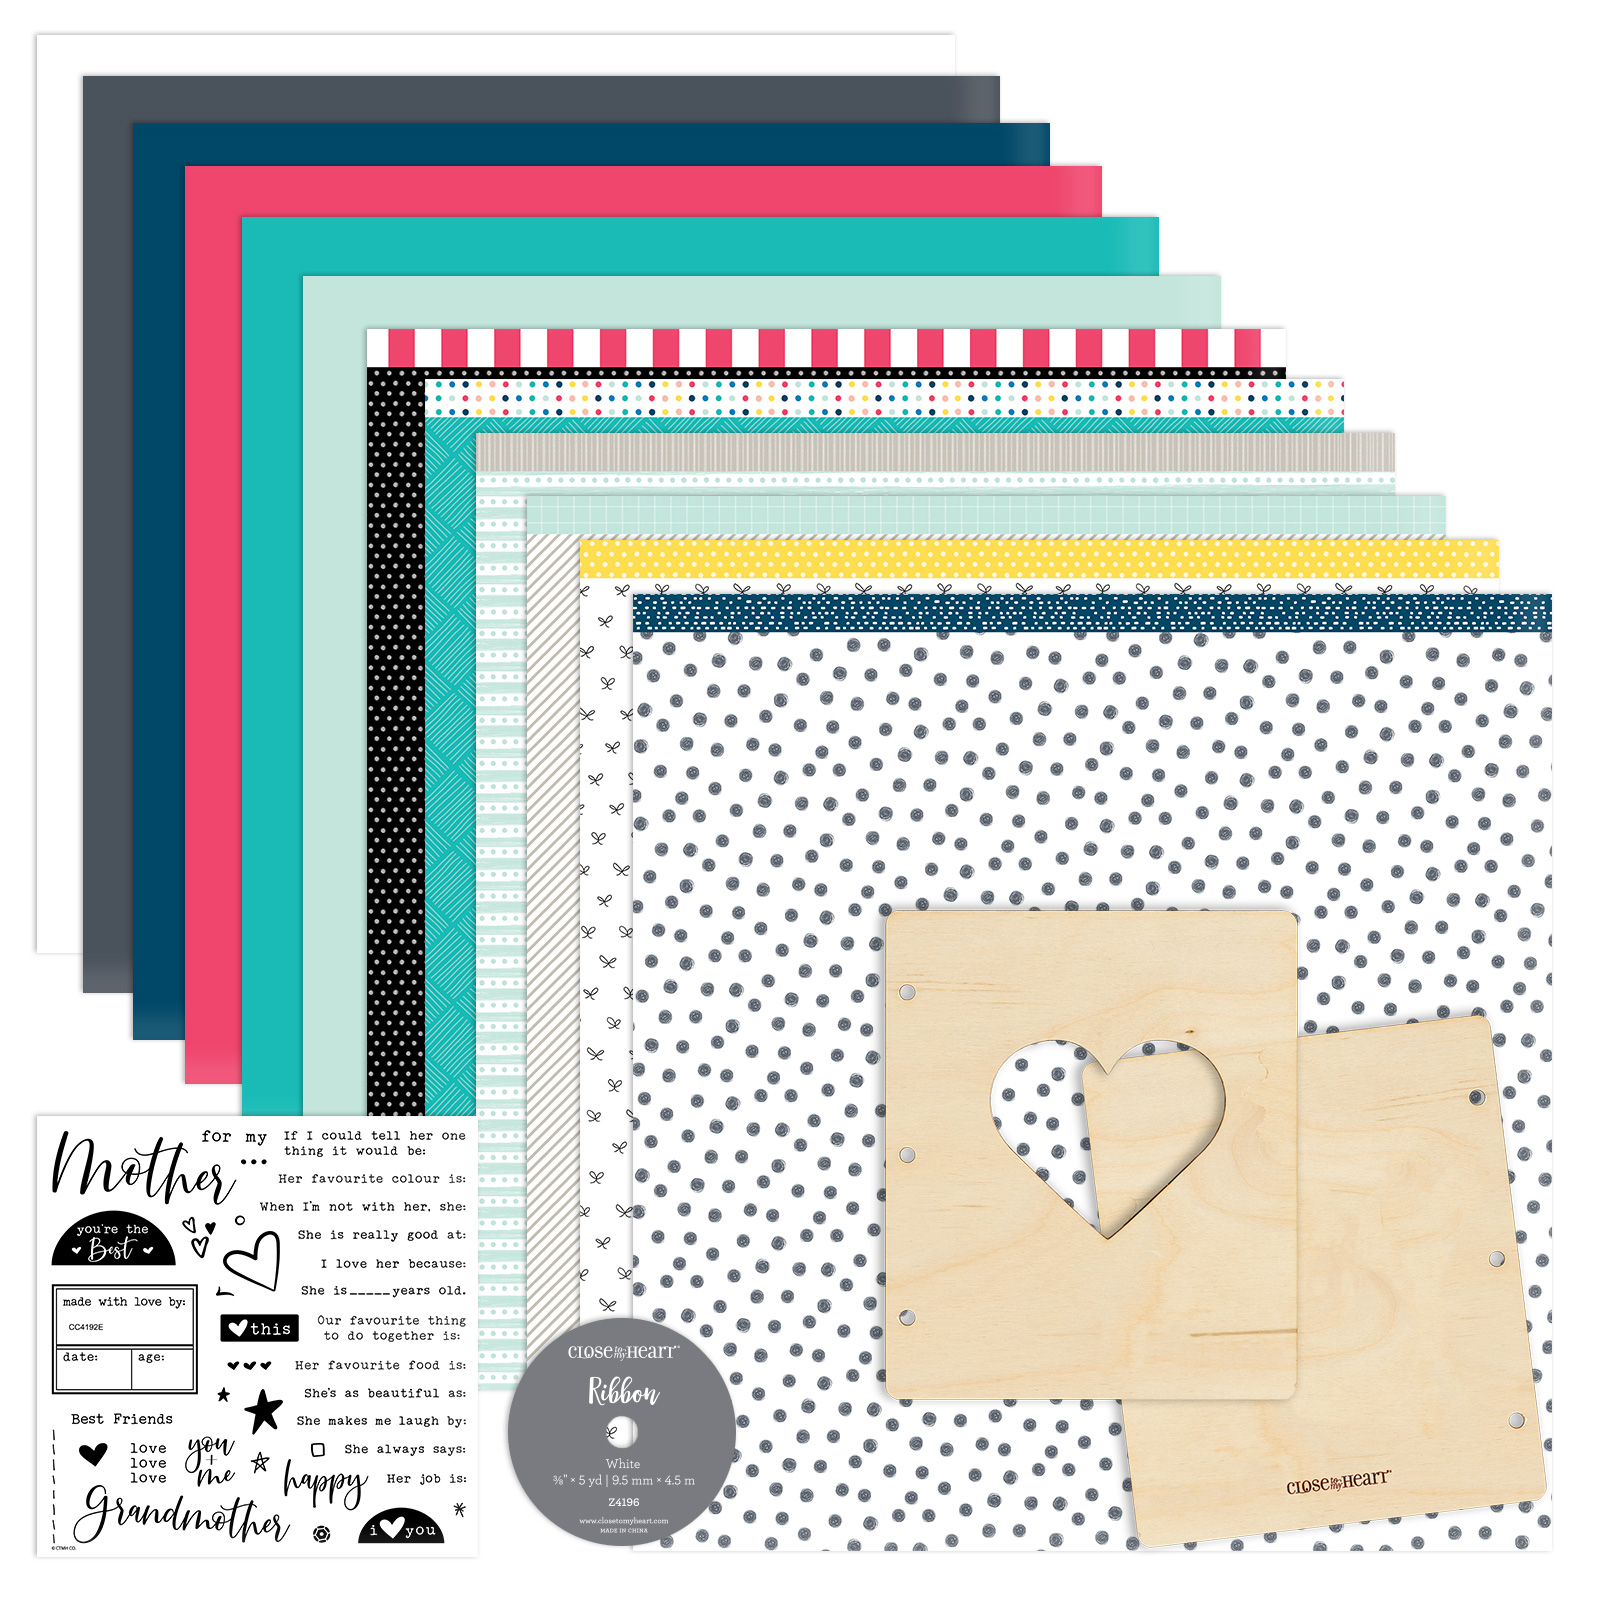
Kit Contains: 
1 – My Acrylix® For My Mother Stamp Set (CC4192E)
1 – Mix-in Paper Packet (X9003)
1 – Mix-in Coordinating Cardstock pack (X9004)
1 – White Ribbon (Z4196)
1 – Wood Mini Album Cover—Heart (CC4198)

Additional Supplies needed:
Charcoal Exclusive Inks™ Stamp Pad (Z2831)
Pixie Exclusive Inks™ Stamp Pad (Z2844)
Sapphire Exclusive Inks™ Stamp Pad (Z2848)
Black StazOn™ Ink Pad (Z888)
Glue Dots® Micro Dots (Z2089)
Cricut® Artbooking Digital Collection (Z3503)
Clear Matte Acrylic Spray Sealer 
       - such as Mod Podge or a Spray Sealer


Workshop Options:

Option 1 - Pre-Cut Option.
  Place your order for the workshop kit with me.  I'll submit the order, it will ship to me. I'll pre-cut the kit and ship to you! The cost of this option is $45.  This includes shipping to you priority mail.  Everything you need is in the kit except for ink pads.  Many times you already have the inks you need so no need to have to purchase them again. See above for the list of inks needed. Orders for this option need to be into me NO LATER THEN APRIL 30TH.  I ship out the kits so that everyone will receive their kits by May 8th, just in time for Mother's Day.  

Option 2 - Order On Your Own Option  There might be a few ladies out there that WANT to cut their own paper. This gives you a little more creative options and time to place your initial order.  *Please note this workshop does use the Cricut Artbooking collection for several of the cuts. You will need to have already purchased this or be willing to purchase it now to cut the pages yourself.   I will have a Class Party Link posted.  Those ordering the kits on their own will need to purchase their kits on my website no later than the 5th of the month.  This should ensure that everyone receives their kit before we sell out and to be able to work on it as soon as possible.  You will have the ability to add other items to your order.  Your kit ships directly to you from Close To My Heart. The cost of this option is $32.95 +shipping and handling from Close to My Heart. 


ALL kits will include the items shown above. The stamp set is optional and though it does highlight Mother's and Grandmother's there are several journaling prompts included in the set that could be used for any layout theme long after you complete this workshop. Subtract $8 if you want the kit WITHOUT the stamp set.  


I am so excited to be creating with you again. I really feel like this virtual workshop is the best of both worlds. We get to create together again and you can go at your own speed. So, will you join me?  I sure hope so!

Sunday, April 21, 2019

A Craft with Heart review

Craft with Heart, Close to My Hearts monthly scrapbook layout subscription program was released last August and though I have talked about it on my Facebook page I haven’t said much here on my blog.  

As a quick review, the subscription can be purchased monthly, quarterly or annually. With both the quarterly and annual subscription you receive 4 months of layouts at a time but with the annual subscription you receive free shipping and 30 free photo prints from Persnickety Prints with each shipment.  The base page of each layout is already designed and laid out but accent pieces are included for you to add dimension with 3D Foam tape   This gives you a beautiful design with minimal effort helping you scrapbook faster, simpler and easier. 

Here are the layouts that were sent and I created with the latest shipment.

Something Fierce:
I used the Brushed Alphabet (one of my favorite alphabet stamp sets) and a couple cricut cuts for my title but stayed pretty true to the layout as created and shown. 


I Heart Us:


For this layout I used the Paw Prints on my Heart stamp set to help embellish my layout and tell its story.  The horizontal picture on the bottom of the left page wasn’t originally shown in the sketch but I felt like it needed to be part of the layout so I added it in - making it mine.  


So Much Happy:


Feels like Home:

Here I changed the direction of the photos on the left page because it’s what I had to work with. :-)
The flowers in the Feels Like Home kit are black and white - the perfect canvas to make it your own.  However I added color to the flowers using the Sugarplum Shimmer Brush on the outside edges of the flowers and colored in the flowers with last years color of the year - Bashful. This added just a pop of color in the grey areas to really accentuate the pictures and draw them out. Finally I added some Silver Embellishing Thread behind the flowers and finished off the layouts with some Sugarplum glitter gems


So, after creating all of these layouts, what are my final thoughts?  I love that each of these layouts took me between 15-30 minutes to create, more when adding my own touch to it.  The layouts looked great on their own but I love that I can add a little something extra here and there to make it my own. I hope you like them as much as I do.  Click here to try out the Craft with Heart for yourself.  Also, when you sign-up for a subscription through my website you will be added to my special, exclusive Facebook group where I talk over each layout and also shows off other options that other professional bloggers and scrapbookers have created with their Craft with Heart layouts. 

Happy Scrappin’!
Saturday, March 30, 2019

Celebrating HOME


I love this new Home Decor kit that Close to My Heart has released using the So Much Happy Paper and Chipboard Monogram letters. The bright colors are so bright and cheerful - a great way to welcome in Spring.

With the Home Chipboard Monogram workshop, you can create a papercrafting project that is sure to add a cozy touch to any room! This workshop uses chipboard monogram letters and easy-to-cut shapes from the Cricut Design Space™ project file created just for this workshop.  In order to cut from the project file, you must own the Artistry collection and have a Cricut® machine that is compatible with Design Space. The workshop instructions can be downloaded from your my website.  Don't own a cricut machine that is compatible with Design Space?  That's o.k. - for a small fee I will cut the pieces for you and mail them directly to you.  Contact me today for all the details. 

MAKE IT YOUR OWN!

I love the design and the style of the Monogram kit but my house colors don't quite match.  So, I made it my own!  I purchased the Monogram letters and the "Feels Like Home" paper pack and complements and was able to create these letters that fit my home.


Order the Home Chipboard Monogram Kit or the individual letters and your favorite kit to spruce up your home and welcome in spring the Close to My Heart way.

Sunday, March 10, 2019

Love Blossoms Blog Hop


Welcome to our Love Blossoms Blog Hop. This hop features our continued special - Love Blossom and the beautiful double stamp set. If you came from Brenda Lapp's blog you are on the right track. If you are just starting the hop, it is a big circle so when you get back to me, you will know you finished the hop. You will find the next blog to hop to at the bottom of my post. 


On my card, I chose to highlight the Color of the Year - Sugar Plum and our new Watercolor Pencils. I stamped the sentiment and flower on our watercolor paper using Intense Black because it is permanent and will not run or smudge when painting over it.  The stamp set comes with an "inside" image for the flowers so I stamped them in Sugarplum and went over the outside edges with our Sugarplum Shimmer pen. For the leaves, I used our watercolor pencils and but not in the traditional way.  When using watercolor pencils on dry paper the pencil tends to be very muted but dampen the paper with a little water and the color takes on a much brighter tone. OR you can do like I did and used my watercolor pen and brushed it over the lead of the pencil and then brushed it on my leaves.  So easy!!!  I love all the uses and different variances we can get out of these simple but dynamic pencils.  I framed the stamped front in our silver foil paper and layered that on top of our Sugarplum cardstock.  I finished my card with a few little Sugarplum Glitter Gems. I hope you like it. 


Product Used:
White cards and Envelopes - X254
Love Blossoms stamp set - CC2199
Sugarplum Cardstock - X5989
Watercolor Paper Pad - Z4243
Sugarplum stamp pad - Z6500
Watercolor Pencils - Z4242
Silver Foil Paper - Z3366
Sugarplum Glitter Gems - Z4192
Intense Black Ink Pad - Z4189
                                                      Sugarplum Shimmer Brush - z4210

Now it's time to hop over to Krista Hershberger's blog to see what she has created with the Love Blossom stamp set. 

Monday, February 11, 2019

Creating some Happy Hearts with cards

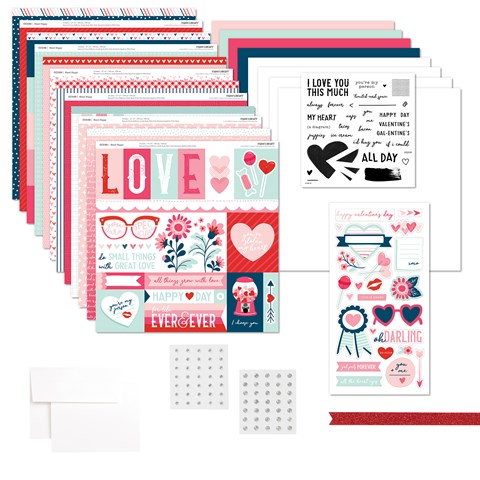
A couple days ago I showed you the layouts that I created with the Happy Hearts paper and stamp collection.  Today I want to show you the cards that I created.  Last November I gave my retreat girls a challenge to mail five cards a month to bring a smile to peoples faces. I love how many of them have risen to the challenge. The cards are beautiful and I KNOW many smiles have come from their cards.

I decided to change things up a bit for myself for February. Instead of sending them to different people this month, I plan to hide several of these cards in my husbands bags,  drawers and maybe even his car for him to find throughout the month.  As I watch my daughter with her boyfriend leave little notes for each other, I wondered why I don't do that anymore. We did it all the time when we were dating 22 years ago but I think it would be fun and spark joy and smiles for him to receive some when he least expects it.  What do you think?  Maybe you should try this too and let me know how he responds 😍.


These cards only took a small fraction of my leftover papers from the kit after completing the layouts I showed you last week.  I love that Close to My Heart gives us so many goodies that allow us to do so much with them.  Talk about a dollar stretched!

As a reminder, the Happy Heart kits are only available during February or while supplies last and when you get the kit with the stamp set, you SAVE 25%.  Get yours today!